Surface Prep & Coating Steps for Refinishing Fiberglass Tubs and Showers
Ventilation & Containment Systems
What is the expected dry time and cure timeline — how long before the tub can be used again?
What gun cleaning solutions protect seals?
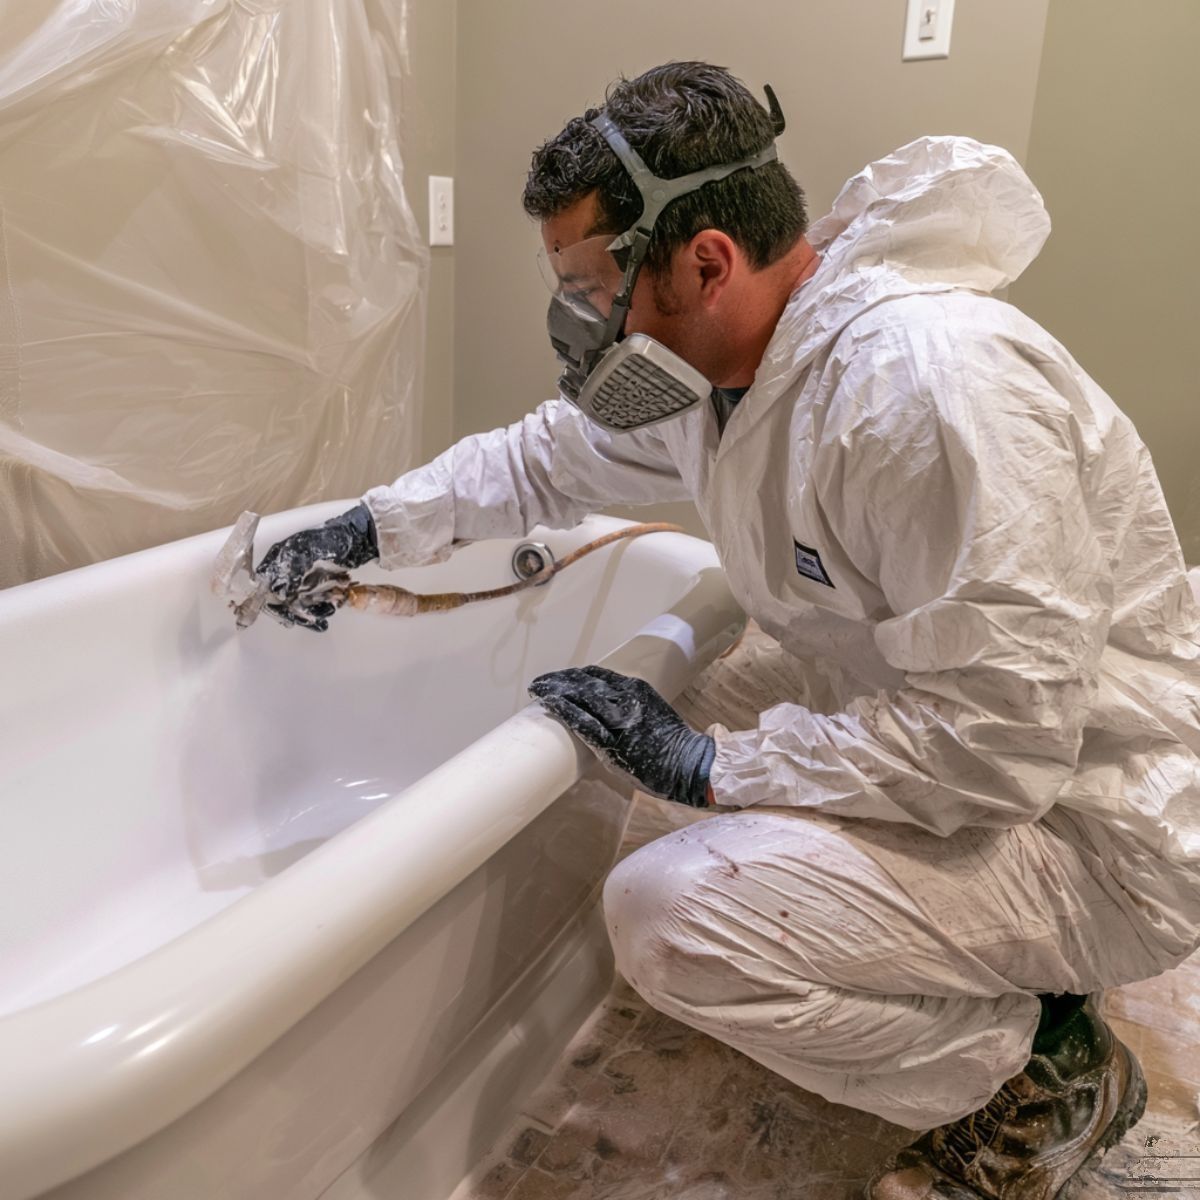
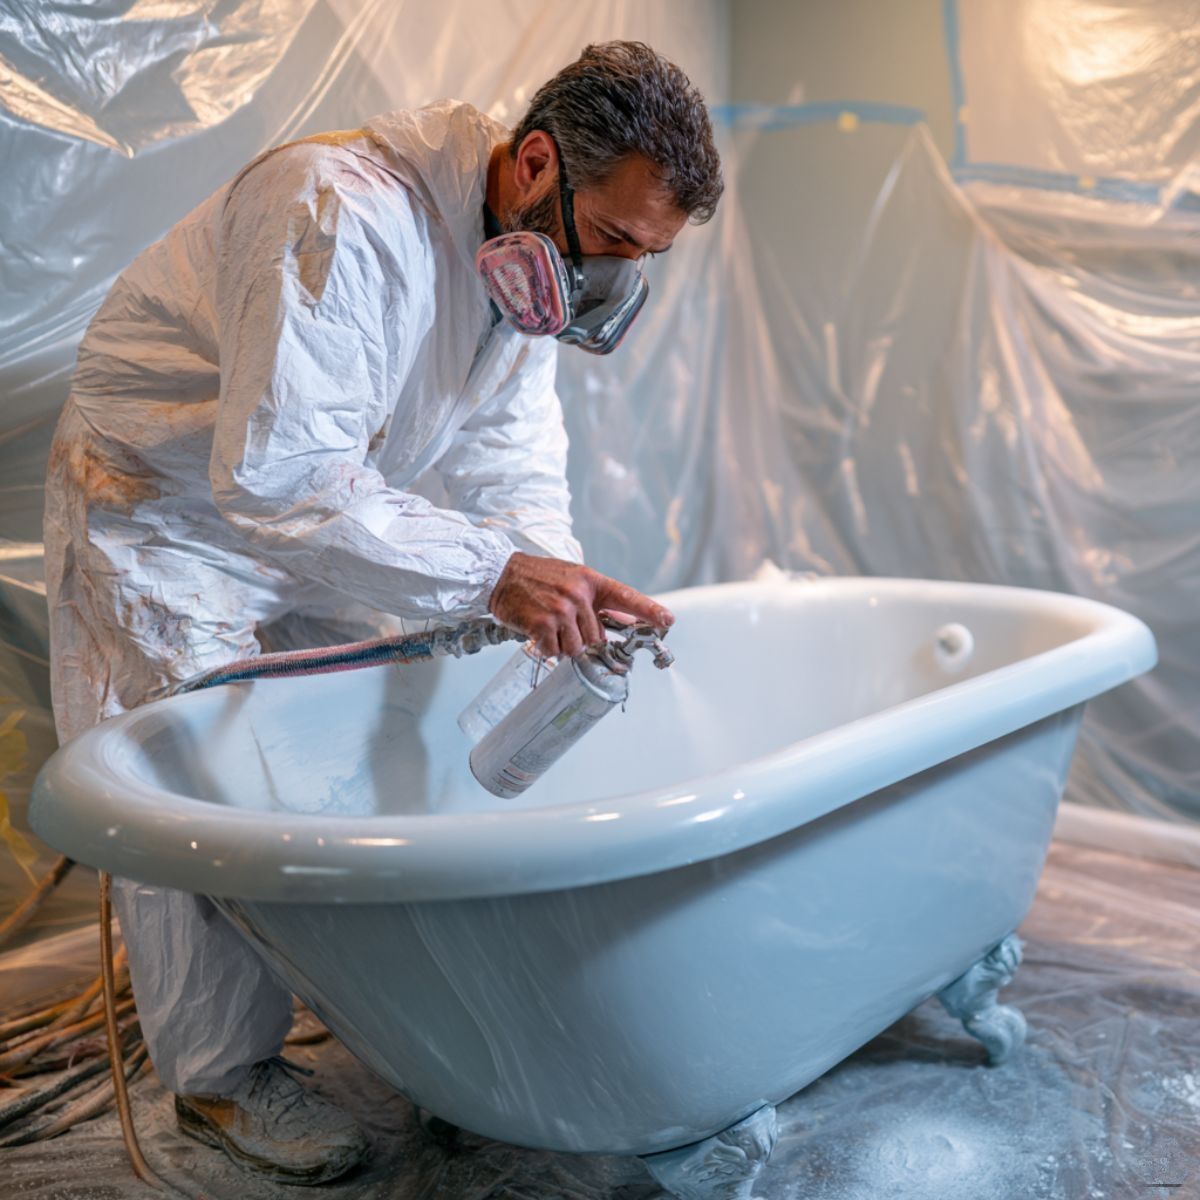
Professional HVLP spray systems with appropriate nozzle sizes can atomize thicker refinishing coatings effectively.
Both Prime-X and the Zen-Tek topcoats are two-component systems that require accurate mixing at manufacturer-specified ratios before application. Ratio errors are a primary cause of soft, undercured primer or topcoat — the chemistry depends on the correct proportion of resin to hardener. Use calibrated mixing containers; eyeballing ratios on 2K products produces inconsistent results. For spray application, HVLP equipment is the standard for refinishing work in enclosed spaces — it transfers more material to the surface and produces less bounceback overspray than conventional or airless systems. The
Professional Refinisher's Equipment Cheatsheet covers gun selection, tip size recommendations, and pressure settings in detail.
Not all cleaning solutions are safe for spray gun components.
Choose cleaning solutions that:
- Do not degrade seals
- Do not corrode internal passages
- Remove coating residue effectively
- Use nylon brushes and Zen-Strip Liquid for monthly thorough cleanings.
Regular maintenance prevents costly equipment replacement.
How do environmental conditions like temperature and humidity affect curing or adhesion on fiberglass finishes?
Fiberglass is one of the most common substrates a refinishing contractor works on, and one of the least forgiving when shortcuts get taken. It's lightweight, manufactured in compound curves and shapes that complicate even spray technique, and its gel coat surface — when it's still intact — has just enough of a barrier to create serious adhesion problems if prep isn't done right. When the gel coat is compromised from age, prior refinishing work, or impact damage, the challenges multiply.
Done correctly, a refinished fiberglass tub or shower can look sharp, hold up to years of daily use, and represent the kind of job a client refers friends over. Done incorrectly, it peels within months and comes back as a warranty callback. This guide walks through the entire process, step by step, with product recommendations and dry time guidelines at each stage.
If you're working on acrylic rather than fiberglass, Zen-Tek's guide on
properly preparing acrylic showers and tubs for refinishing covers the substrate-specific differences worth knowing. The two materials look similar but behave differently under prep chemicals and coating, and the distinctions matter.
Step 1: Assess the Substrate Before You Touch Anything
The work starts before you open a product. Fiberglass jobs vary significantly based on the condition of the gel coat, whether the unit has been previously refinished, and whether there's structural damage that needs addressing before any surface work begins.
Run your hand across the surface. Press on the walls and floor of the shower unit. Soft spots, flex under moderate pressure, or audible cracking sounds indicate delamination — areas where the fiberglass layers have separated. These need to be addressed structurally before refinishing. A topcoat applied over a delaminating fiberglass wall will fail regardless of how well everything else is done.
Check for prior coatings. A previously refinished fiberglass unit needs different handling than original gel coat. If the existing coating is peeling, failing, or poorly adhered, it needs to come off before you prime and coat. Trying to coat over a compromised existing finish is one of the most common causes of callbacks in refinishing work.
If the old finish needs to come off,
Zen-Strip — Zen-Tek's automotive-grade chemical paint remover — handles urethane and epoxy coatings without damaging the fiberglass substrate beneath. Apply per the product instructions, allow adequate dwell time for the old coating to release, then remove and neutralize thoroughly before proceeding with prep.
Step 2: Clean the Surface — Thoroughly, Not Quickly
Fiberglass surfaces in bathroom environments accumulate soap scum, body oils, silicone from caulk work, mold-release residues from manufacturing (on newer units), and sometimes wax or polish applied by homeowners trying to restore shine. Every one of those contaminants is an adhesion failure waiting to happen if it's still present when you prime.
What to Clean For
- Soap scum and calcium deposits — remove with an appropriate acidic or alkaline cleaner, rinsed completely
- Body oils and petroleum-based residues — requires a degreaser, not just water
- Silicone — the enemy of adhesion; any silicone from old caulk that's been smeared across the surface needs to be removed chemically and mechanically
- Polish or wax — commonly found on older fiberglass units where owners tried to restore finish with automotive or marine products; remove completely before any etching or priming
Wipe dry and check the surface under good lighting for any remaining residue. Water should sheet off a truly clean fiberglass surface — if it beads in spots, you have contamination in those areas.
Dry Time After Cleaning
The surface must be completely dry before any prep product or primer is applied. In normal conditions this takes 15 to 30 minutes of air drying after a water rinse. In humid environments or on cooler surfaces, allow more time. A surface that reads dry to the touch can still hold moisture in recesses and textured areas — use a clean, dry cloth to wipe down thoroughly and check again. This could also be sped up using denatured alcohol on the surface, but it does not guarantee that the corner grout lines are dry.
Step 3: Repair Chips, Cracks, and Surface Damage
Any structural or cosmetic damage to the fiberglass needs to be addressed before etching or priming. Trying to fill over primer or through topcoat layers creates adhesion planes between the repair and the surrounding surface that can fail over time.
For chips, scratches, stress cracks, and surface voids in fiberglass, the approach is to fill, sand level, and then proceed with the rest of the prep sequence. Zen-Tek's blog post on tub and tile chip repair techniques covers repair methods in depth — including how to handle different depths and sizes of damage and how to achieve a level surface that will blend under the topcoat.
The general sequence for fiberglass repairs:
- Clean the repair area as above
- Open and dry the damaged area — small stress cracks often need to be slightly widened with a Dremel or rotary tool so the filler can get into the damage rather than bridging over it
- Apply your repair compound in thin layers, allowing each to cure before adding the next
- Sand level, starting at 220 grit and finishing at 400 grit, blending into the surrounding surface
- Clean repair dust and residue before proceeding to etch; no etching required on fiberglass, you could use an adhesion promoter
Don't rush repairs. A repair that looks level when the filler is fresh may read differently after primer goes on. Check your work under raking light before priming.
Step 4: Etch or Sand the Surface to Create Mechanical Profile
Fiberglass gel coat — and any sound existing coating on a previously refinished unit — needs a mechanical profile for primer to bond to. This is non-negotiable. Primer applied to a smooth, unscuffed fiberglass surface has minimal mechanical adhesion and will eventually fail.
You have two reliable options for creating that profile
Option A: Mechanical Sanding
Wet sand with 400-grit sandpaper. 400 is the right balance for fiberglass — coarser grits (220, 320) can leave scratch marks that read through the finish, particularly on lighter colors. Finer grits (600 and up) don't create enough profile for reliable adhesion. Use a sanding block on flat surfaces to keep the sanding even. On contoured areas, follow the curve of the surface without flattening compound profiles.
Sand the entire surface, including corners and recesses. Areas that don't get scuffed are areas that won't hold primer. Wipe down with a clean, slightly damp cloth after sanding to remove dust, then allow to dry completely before priming.
Option B: Chemical Etching with AdvanEtch
AdvanEtch only works on porcelain, enamel, and concrete surfaces. For other situations, you can sand and use a bonding agent or adhesive promoter.
Step 5: Final Wipe-Down Before Primer
After sanding or etching, do a final solvent wipe to remove any remaining contaminants, fingerprints, or dust. This step is often skipped in the interest of time. It shouldn't be. Anything on the surface when the primer goes on is bonded under the finish permanently.
Use an appropriate solvent wipe — follow the recommendation in your primer's technical data sheet. Wipe in one direction with a clean cloth; don't scrub back and forth which can redistribute contamination. Use a fresh cloth for the final pass.
Avoid touching the surface with bare hands after the final wipe. Skin oils contaminate surfaces immediately and are invisible until a fisheye or adhesion void appears in the primer coat.
Step 6: Apply Primer
Primer is the foundation of adhesion on fiberglass. Skipping it or rushing through it in a single thin coat is one of the most common shortcuts that leads to peeling failures. Zen-Tek offers two primer systems depending on the job requirements.
Prime-X: The Solvent-Based Epoxy Primer
Prime-X is Zen-Tek's one-coat epoxy primer, engineered as a high-build, fast-setting system that bonds aggressively to prepared fiberglass. It's a two-component product mixed at the specified ratio before application. The formula is designed to finish priming in a single coat without runs or sag, which keeps fiberglass shower walls — where primer can want to drip on vertical surfaces — looking clean.
Prime-X requires a reducer as part of the system — follow the technical data sheet for the correct reducer ratio for your application conditions.
Prime-X dry times:
- Touch dry: approximately 15–20 minutes under normal conditions
- Recoat window: 30–45 minutes before applying a second primer coat if needed
- Ready for topcoat: approximately 1 hour, depending on temperature and humidity
WTR-Prime: The Water-Based Epoxy Primer
For jobs in occupied buildings, healthcare facilities, schools, or any environment where solvent-based products aren't appropriate, WTR-Prime is the water-based alternative. It's a two-component water-based epoxy primer with strong adhesion to fiberglass, porcelain, acrylic, and ceramic. No reducer required.
WTR-Prime has a better adhesion profile than other water-based primers in the category — the reputation of water-based primers as a weak link in refinishing systems doesn't apply here.
WTR-Prime dry times:
- Between primer coats: minimum 30 minutes
- Before topcoat application: minimum 1 hour
- These dry times are longer than Prime-X and need to be factored into job scheduling
Application Tips for Primer on Fiberglass
- Mix two-component primers thoroughly and accurately — ratio errors are a primary cause of soft, undercured primer that doesn't build properly
- Apply in controlled passes, maintaining consistent distance from the surface — fiberglass shower walls are often confined spaces where gun-to-surface distance varies more than you realize
- On curved fiberglass surfaces, reduce your spray pressure slightly to prevent overload in concave areas where material can pool
- Two thin coats of primer are more reliable than one heavy coat on fiberglass, where the varied geometry can make consistent build difficult in a single pass
For a full equipment reference — gun types, tip sizes, and pressure settings by product type — see the
Professional Refinisher's Equipment Cheatsheet on the Zen-Tek blog.
Step 7: Apply Topcoat
After primer has reached the appropriate dry time for topcoat application, you're ready for color coat. Zen-Tek offers multiple topcoat options, each suited to different job requirements and client specifications.
Synergy: The Polyurethane Acrylic Topcoat
Synergy is Zen-Tek's polyurethane acrylic topcoat — a durable, high-gloss system engineered to outperform conventional urethane coatings at a more accessible price point. For standard fiberglass refinishing jobs where a solvent-borne system is appropriate, Synergy is a proven performer with the gloss and durability profile clients expect.
For jobs where isocyanate exposure is a concern — occupied residential buildings, properties with sensitive occupants, or anywhere a contractor's health protection preferences or client requirements call for a non-isocyanate system —
Zenix is the iso-free 2K topcoat that delivers comparable performance without the isocyanate hazard. 92+ gloss rating, 4H pencil hardness, stain and yellowing resistance. It's the right choice for a growing number of refinishing jobs without sacrificing the finish quality clients expect.
For low-VOC, low-odor applications on fiberglass in institutional or occupied environments,
WTR-Tek brings a high-gloss water-based polyurethane finish that outperforms other water-based coatings in its category. Smoother, glossier, and more durable than older water-based systems. Apply over WTR-Prime for a fully water-based refinishing system.
Topcoat Application: How Many Coats and How to Apply Them
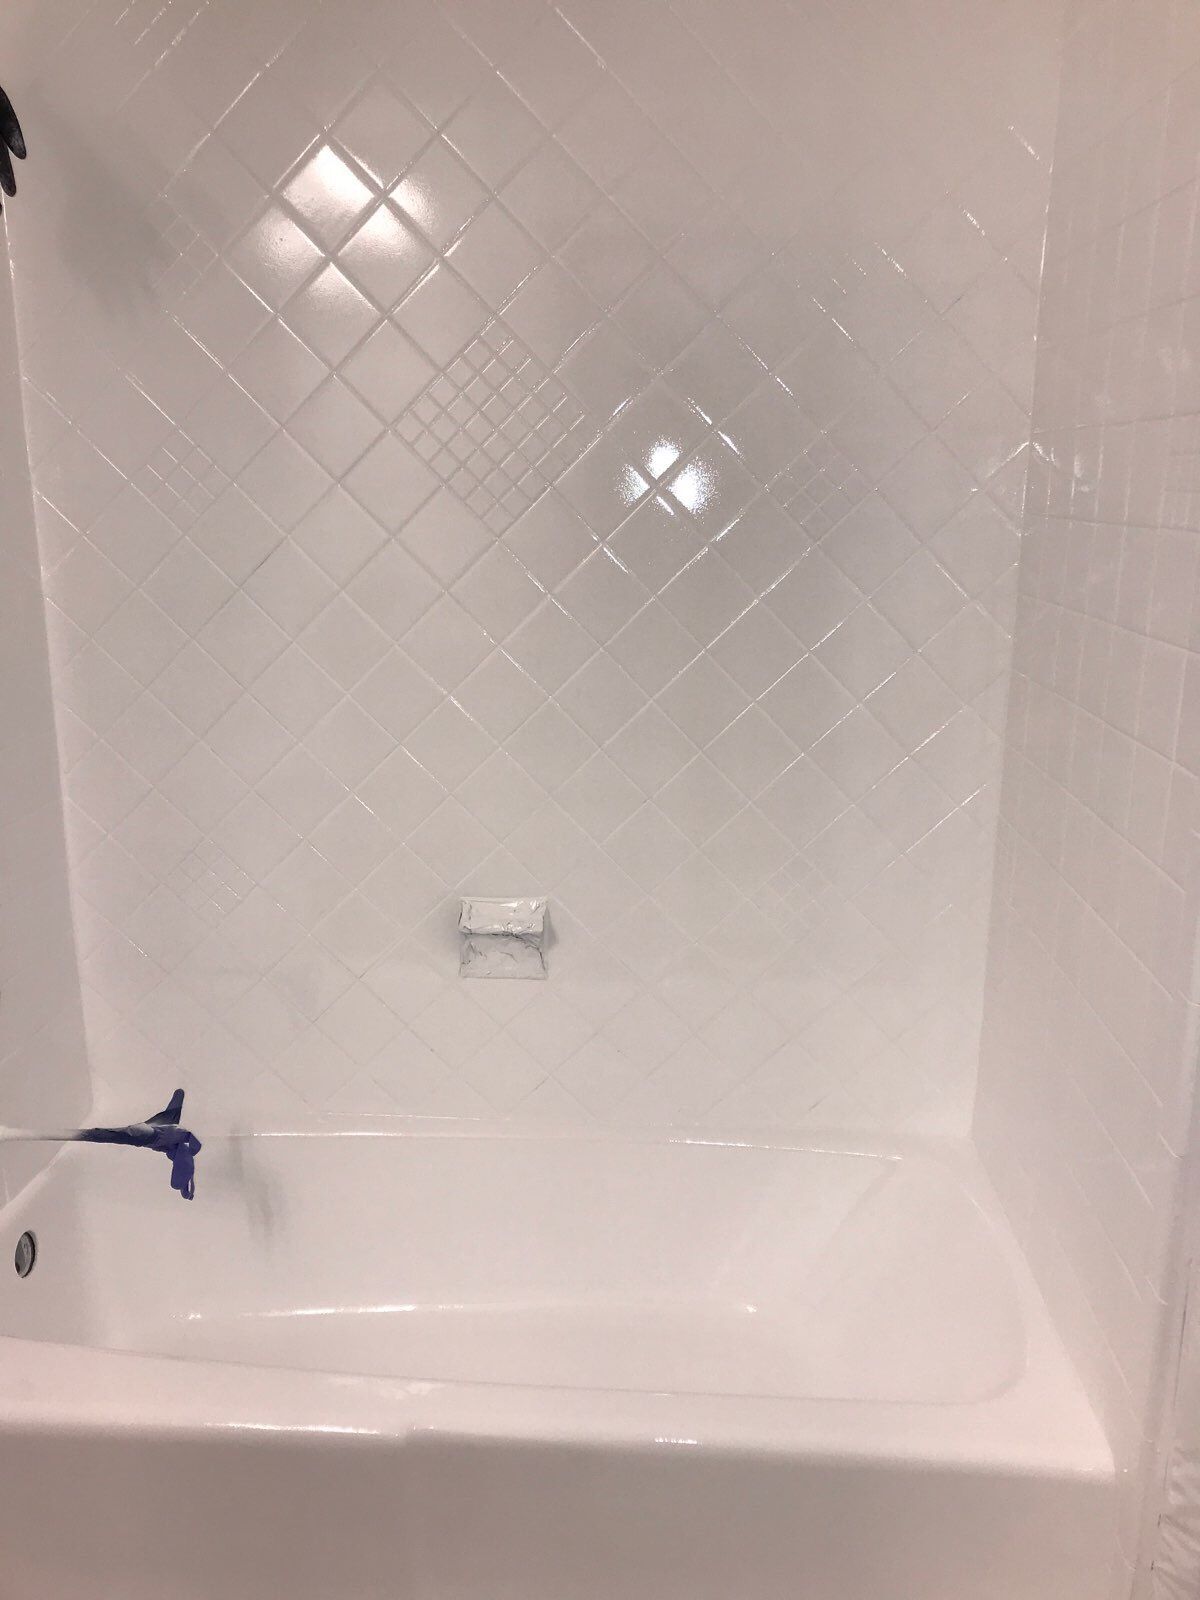
For a fiberglass tub or shower, two to three topcoat passes is the standard. The first pass establishes the base; the second and third build gloss and film thickness. On a single-color job, two passes with adequate dry time between them is usually sufficient. On jobs requiring more visual depth or on surfaces with significant texture, three passes gives better coverage and gloss uniformity.
Typical topcoat dry times (solvent-borne systems):
- Touch dry: 20–30 minutes
- Recoat window: 30–45 minutes between topcoat passes
- Light use: 24–48 hours depending on coating system and conditions
- Full cure: typically 3–5 days for the coating to reach maximum hardness
For WTR-Tek (water-based):
- Recoat window: 30 minutes between passes
- Return to use: longer than solvent-based systems from a hardness standpoint; allow adequate cure time before the surface is put back in service
Always check the specific technical data sheet for the product you're using for the most accurate dry time guidance. Conditions — temperature, humidity, air circulation — affect all of these windows. For a thorough breakdown of how conditions affect dry and cure times across Zen-Tek's product line, refer to Zen-Tek's dedicated dry times guide on the blog.
Spray Technique on Fiberglass
Fiberglass geometry creates challenges that flat tile walls don't. Compound curves, recessed floors, rounded inside corners, and angled deck surfaces all require adjustments.
- Work the geometry, not against it. Start spray passes on the most difficult areas first — inside corners, tight curves — before the flat or simple surfaces. This lets you address the challenging areas while the gun is freshest and your attention is highest.
- Keep passes consistent on vertical walls. On the tall walls of a fiberglass shower surround, maintain the same gun-to-surface distance throughout the pass. Distance variation causes sheen inconsistency that reads clearly in the finished gloss.
- Don't load vertical surfaces. On vertical fiberglass walls, apply lighter passes and allow dry time between them rather than trying to build all your film thickness in one go. Runs and sags are much harder to fix after the fact than they are to prevent.
- The floor of a fiberglass tub or shower unit is a different surface than the walls. It's horizontal, often textured, and in a confined space. Work from the outside in to avoid stepping in fresh coating.
For a complete guide to gun selection, tip size, and pressure recommendations by coating type and substrate, the
equipment cheatsheet is the reference to bookmark.
Step 8: Additive Options
Depending on the job requirements, Zen-Tek offers two additives that integrate directly into the topcoat.
Anti-Microbial Additive: For fiberglass shower enclosures in healthcare facilities, hotels, schools, or high-occupancy residential buildings where mold and mildew control is a client requirement, Zen-Tek's mold-resistant coating additive adds antimicrobial protection directly into the cured film. It integrates into any Zen-Tek topcoat without changing application characteristics.
For reference: Added when mixed and is sprayed on.
Anti-Slip Additive: For fiberglass tub and shower floors where slip resistance is a safety requirement — particularly in commercial, assisted living, or ADA-conscious residential applications — Zen-Tek's anti-slip additive adds a refined texture particle to the topcoat. Apply to the floor only in most cases; the walls and deck surfaces typically aren't specified for slip resistance.
For reference: Added when mixing a smaller batch and rolled on the horizontal surface.
Step 9: Remove Masking and Inspect
Pull masking tape while the coating is in its initial cure window — firm to the touch but not fully hardened. Pull at a low angle, slowly. Tape left overnight in a warm bathroom increases its bond to adjacent surfaces and risks pulling coating or leaving adhesive residue when removed.
Under good lighting, inspect the finished surface for:
- Orange peel: Fine texture that reads as bumpy rather than smooth, usually caused by incorrect gun pressure, too much distance from the surface, or coating applied in conditions outside the recommended range. Zen-Tek's blog covers orange peel causes and solutions in detail.
- Runs or sags: Correctable with careful wet sanding once the coating has reached appropriate hardness, followed by polishing to restore gloss
- Fisheyes or craters: Circular voids in the finish typically caused by surface contamination — oil, silicone, or polish that wasn't fully removed during prep
- Edge lifting at tape lines: Usually caused by tape that was left too long or removed at the wrong angle
Minor defects in a fully cured topcoat can be addressed with wet sanding (start at 800 grit, finish at 1500 or 2000, polish with an appropriate compound). Major defects typically indicate a prep or application problem that will recur, and the root cause needs to be identified before rework.
Step 10: Client Handoff and Return-to-Use Instructions
The job isn't done when the tape comes off. How you communicate return-to-use expectations directly affects whether the client calls back with a complaint about soft or damaged finish.
Standard guidance for fiberglass refinishing:
- 24 hours before any water contact (light use)
- 48–72 hours before normal shower or bath use, in most conditions
- 5–7 days for full cure before using abrasive cleaners or scrubbing
Write these down for the client rather than relying on a verbal exchange. A client who wipes down the tub with an abrasive pad two days after refinishing and damages the finish isn't necessarily trying to void their warranty — they just didn't remember the specifics of what you told them at the door.
Frequently Asked Questions About Refinishing Fiberglass Tubs and Showers
How should I prep a fiberglass tub or shower for refinishing to ensure topcoat adhesion?
Proper prep follows a specific sequence: assess the substrate for delamination and prior coatings, clean thoroughly to remove soap scum, oils, and silicone, repair any damage, create a mechanical surface profile through sanding or chemical etching with AdvanEtch, do a final solvent wipe, then apply primer. Every step in that chain matters. Adhesion failures on fiberglass almost always trace back to a shortcut in prep — contamination that wasn't fully removed, an area that wasn't properly scuffed, or primer applied before the surface was fully dry.
What grit of sandpaper is best for scuffing fiberglass surfaces?
400-grit wet sandpaper is the standard for fiberglass prep. It creates a surface profile that primers can bond to without leaving scratch marks that telegraph through the finish on lighter colors. Coarser grits — 220 or 320 — create too aggressive a scratch pattern for smooth finish work. Finer grits — 600 and above — don't create adequate mechanical profile for reliable adhesion. 400 is the target for the body of the surface; if you're blending in repair work, you may start coarser over the repair area and finish at 400 before priming.
Do I need to use a bonding promoter, or is sanding enough?
Sanding alone is sufficient if done properly -- 400-grit sanding across the entire surface creates an adequate profile for primer adhesion on fiberglass. Using a bonding agent only enhances the potential for extra bonding. On this substrate it is not necessary but is definitely an option.
How do I repair cracks, chips, or weak spots in fiberglass before refinishing?
For chips and surface scratches, clean the area, apply repair compound in thin layers, allow to cure between layers, sand level starting at 220 grit and finishing at 400, and blend into the surrounding surface before etching and priming. For stress cracks, open the crack slightly with a rotary tool before filling so the repair material gets into the damage rather than bridging over it — bridged repairs look fine initially but fail under the coating over time. For delamination or soft spots indicating structural separation of the fiberglass layers, the repair required is more involved and goes beyond surface refinishing. Zen-Tek's chip repair guide covers damage repair in detail for professional refinishers.
What cleaning method or degreaser removes soap scum, oils, and residual polish from fiberglass?
A two-stage cleaning approach is the most reliable. First, remove soap scum and mineral deposits with an appropriate acidic or alkaline cleaning product, rinsed completely. Second, degrease with an appropriate solvent-based degreaser to remove body oils, petroleum residues, and any wax or polish. Silicone requires dedicated silicone remover — standard degreasers don't fully neutralize silicone contamination, and invisible silicone residue is one of the most common causes of fisheyes in the finished topcoat. Rinse thoroughly and allow the surface to dry completely before any subsequent steps.
Can I use a bonding primer, or is direct topcoat application acceptable on fiberglass?
Primer is required. Direct topcoat application on fiberglass without a bonding primer layer is a shortcut that compromises adhesion, particularly on the slick gel coat surface. Primer is what creates the bond between the prepared substrate and the topcoat — without it, the topcoat has only mechanical adhesion to the surface profile from sanding or etching, which is not sufficient for a durable long-term finish. Prime-X is Zen-Tek's go-to epoxy primer for standard fiberglass refinishing. WTR-Prime is the choice for low-VOC or water-based system jobs.
What tools and mixing ratios are recommended when applying epoxy primer and topcoat on fiberglass?
Both Prime-X and the Zen-Tek topcoats are two-component systems that require accurate mixing at manufacturer-specified ratios before application. Ratio errors are a primary cause of soft, undercured primer or topcoat — the chemistry depends on the correct proportion of resin to hardener. Use calibrated mixing containers; eyeballing ratios on 2K products produces inconsistent results. For spray application, HVLP equipment is the standard for refinishing work in enclosed spaces — it transfers more material to the surface and produces less bounceback overspray than conventional or airless systems. The Professional Refinisher's Equipment Cheatsheet covers gun selection, tip size recommendations, and pressure settings in detail.
How many coats of primer and topcoat are needed for a fiberglass tub — what's the typical layering process?
The standard process for fiberglass is one to two coats of primer, followed by two to three topcoat passes. One coat of Prime-X is typically sufficient for sound, well-prepared fiberglass when the product is applied to build. A second primer coat is warranted if coverage is uneven, the surface has areas of heavier damage repair, or the first coat revealed prep issues. For topcoat, two passes builds adequate film thickness and gloss on most fiberglass jobs. Three passes are used when more visual depth is needed, on surfaces with significant texture, or when the client specification calls for maximum durability.
What is the expected dry time and cure timeline — how long before the tub can be used again?
With solvent-based systems: touch dry in 20–30 minutes, recoat window at 10–45 minutes, light use at 24 hours, normal use at 48–72 hours, and full cure at 5–7 days. With WTR-Tek water-based topcoat over WTR-Prime: recoat at 30 minutes, but full hardness development takes longer and return-to-service timing should follow the product's technical data sheet guidelines. Temperature and humidity affect all of these windows — cooler temperatures and higher humidity extend both dry and cure times. Always consult product-specific technical data sheets for accurate timing, and communicate return-to-use expectations clearly to the client in writing.
What causes bubbles, blotches, or pinholes in fiberglass refinishing — how do I avoid or fix them?
Bubbles and pinholes in fiberglass finishes typically trace back to one of three sources. Outgassing from the fiberglass substrate — air or moisture escaping through pores in the gel coat — can create pinholes if the surface wasn't fully sealed by primer or if primer was applied before the surface was fully dry. Surface contamination — silicone, oil, or polish not fully removed — causes fisheyes and craters. Air trapped in mixed primer or topcoat due to aggressive mixing creates bubbles. To minimize the risk: ensure the surface is fully dry and degreased before priming, mix products gently to avoid introducing air, and apply primer in conditions within the recommended temperature and humidity range. Pinholes in a cured topcoat are addressed by wet sanding level, spot priming if needed, and recoating.
How do I prevent sagging or runs on sloped or vertical fiberglass surfaces?
Build film thickness in multiple thin passes rather than loading material in one heavy coat. On vertical fiberglass shower walls, a pass that deposits too much material in a single application will begin to sag before it reaches even initial tack. Reduce fluid pressure slightly on vertical surfaces compared to horizontal application. Keep gun-to-surface distance consistent — moving closer to the surface mid-pass deposits more material in that area and is a common cause of localized runs. Work at a pace where each pass leaves a wet but not heavy film, allow appropriate dry time, and build with subsequent passes.
What are the best spray settings for refinishing fiberglass tubs and showers?
For HVLP spray application on fiberglass with solvent-borne coatings, a 1.3 to 1.4mm tip is the standard starting point for most primer and topcoat work. Fluid pressure in the 8–12 psi range for the fluid knob, with atomization air adjusted to produce a consistent oval fan pattern without dry spray at the edges. Gun-to-surface distance of 8–10 inches for topcoat; slightly closer for primer to build coverage in recessed areas. On water-based systems with WTR-Tek, pressure runs slightly lower. Dial in your settings on a test surface or scrap panel before starting the job. The equipment cheatsheet provides a full reference for tip sizes and pressure settings by product type.
How do environmental conditions like temperature and humidity affect curing or adhesion on fiberglass finishes?
Temperature and humidity are the two variables that most directly affect how coatings perform on fiberglass. Ideal application conditions are between 65°F and 85°F with relative humidity below 70%. Below 60°F, both solvent-borne and water-based coatings cure significantly slower, and two-component systems may not achieve full crosslink density in cold conditions — the hardener reaction is temperature-dependent. High humidity (above 75–80%) introduces moisture into the coating during spray and cure, which can cause adhesion problems, blush, and cloudiness in the finish. Water-based coatings are more sensitive to environmental conditions than solvent-borne systems. Check conditions before you start, monitor during application, and build job scheduling around weather windows when you're working in spaces without climate control.