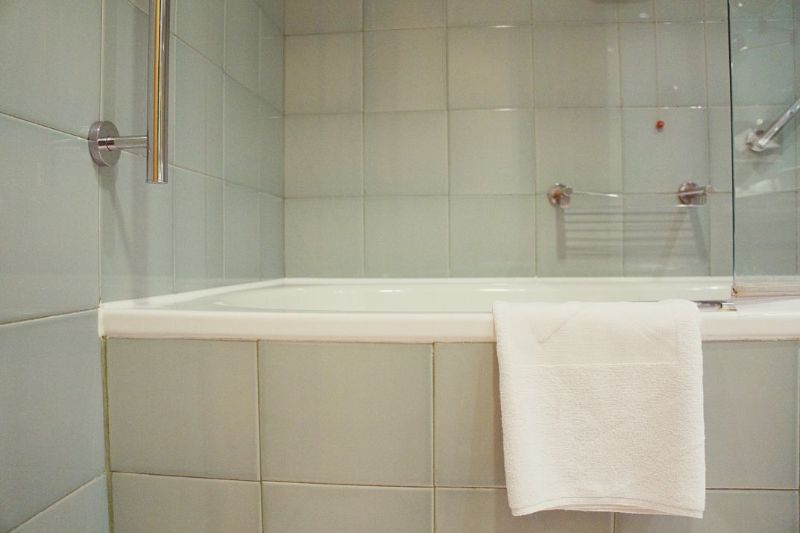
Dry Spray When Refinishing Tubs, Tile & Cabinets: Causes, Prevention & Fixes
Ventilation & Containment Systems
What gun cleaning solutions protect seals?
Professional HVLP spray systems with appropriate nozzle sizes can atomize thicker refinishing coatings effectively.
Not all cleaning solutions are safe for spray gun components.
Choose cleaning solutions that:
- Do not degrade seals
- Do not corrode internal passages
- Remove coating residue effectively
- Use nylon brushes and Zen-Strip Liquid for monthly thorough cleanings.
Regular maintenance prevents costly equipment replacement.
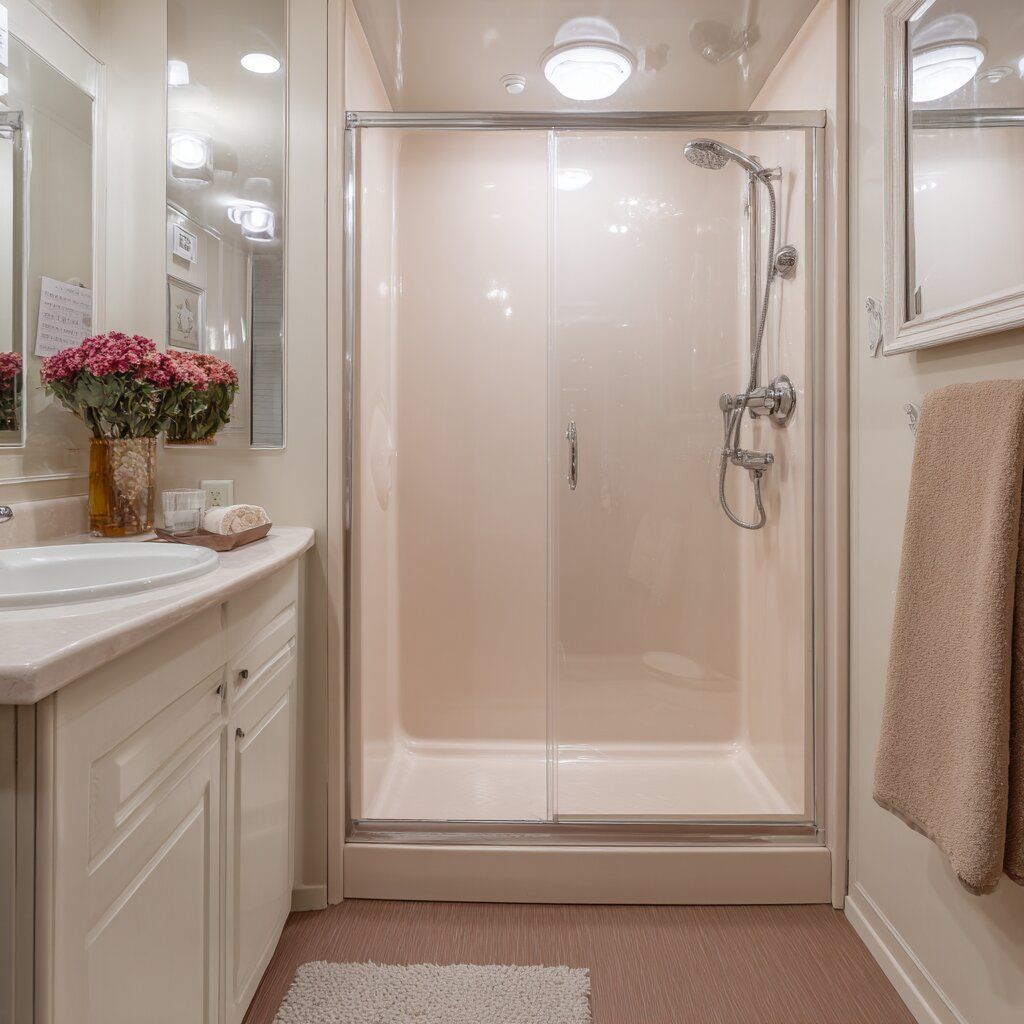
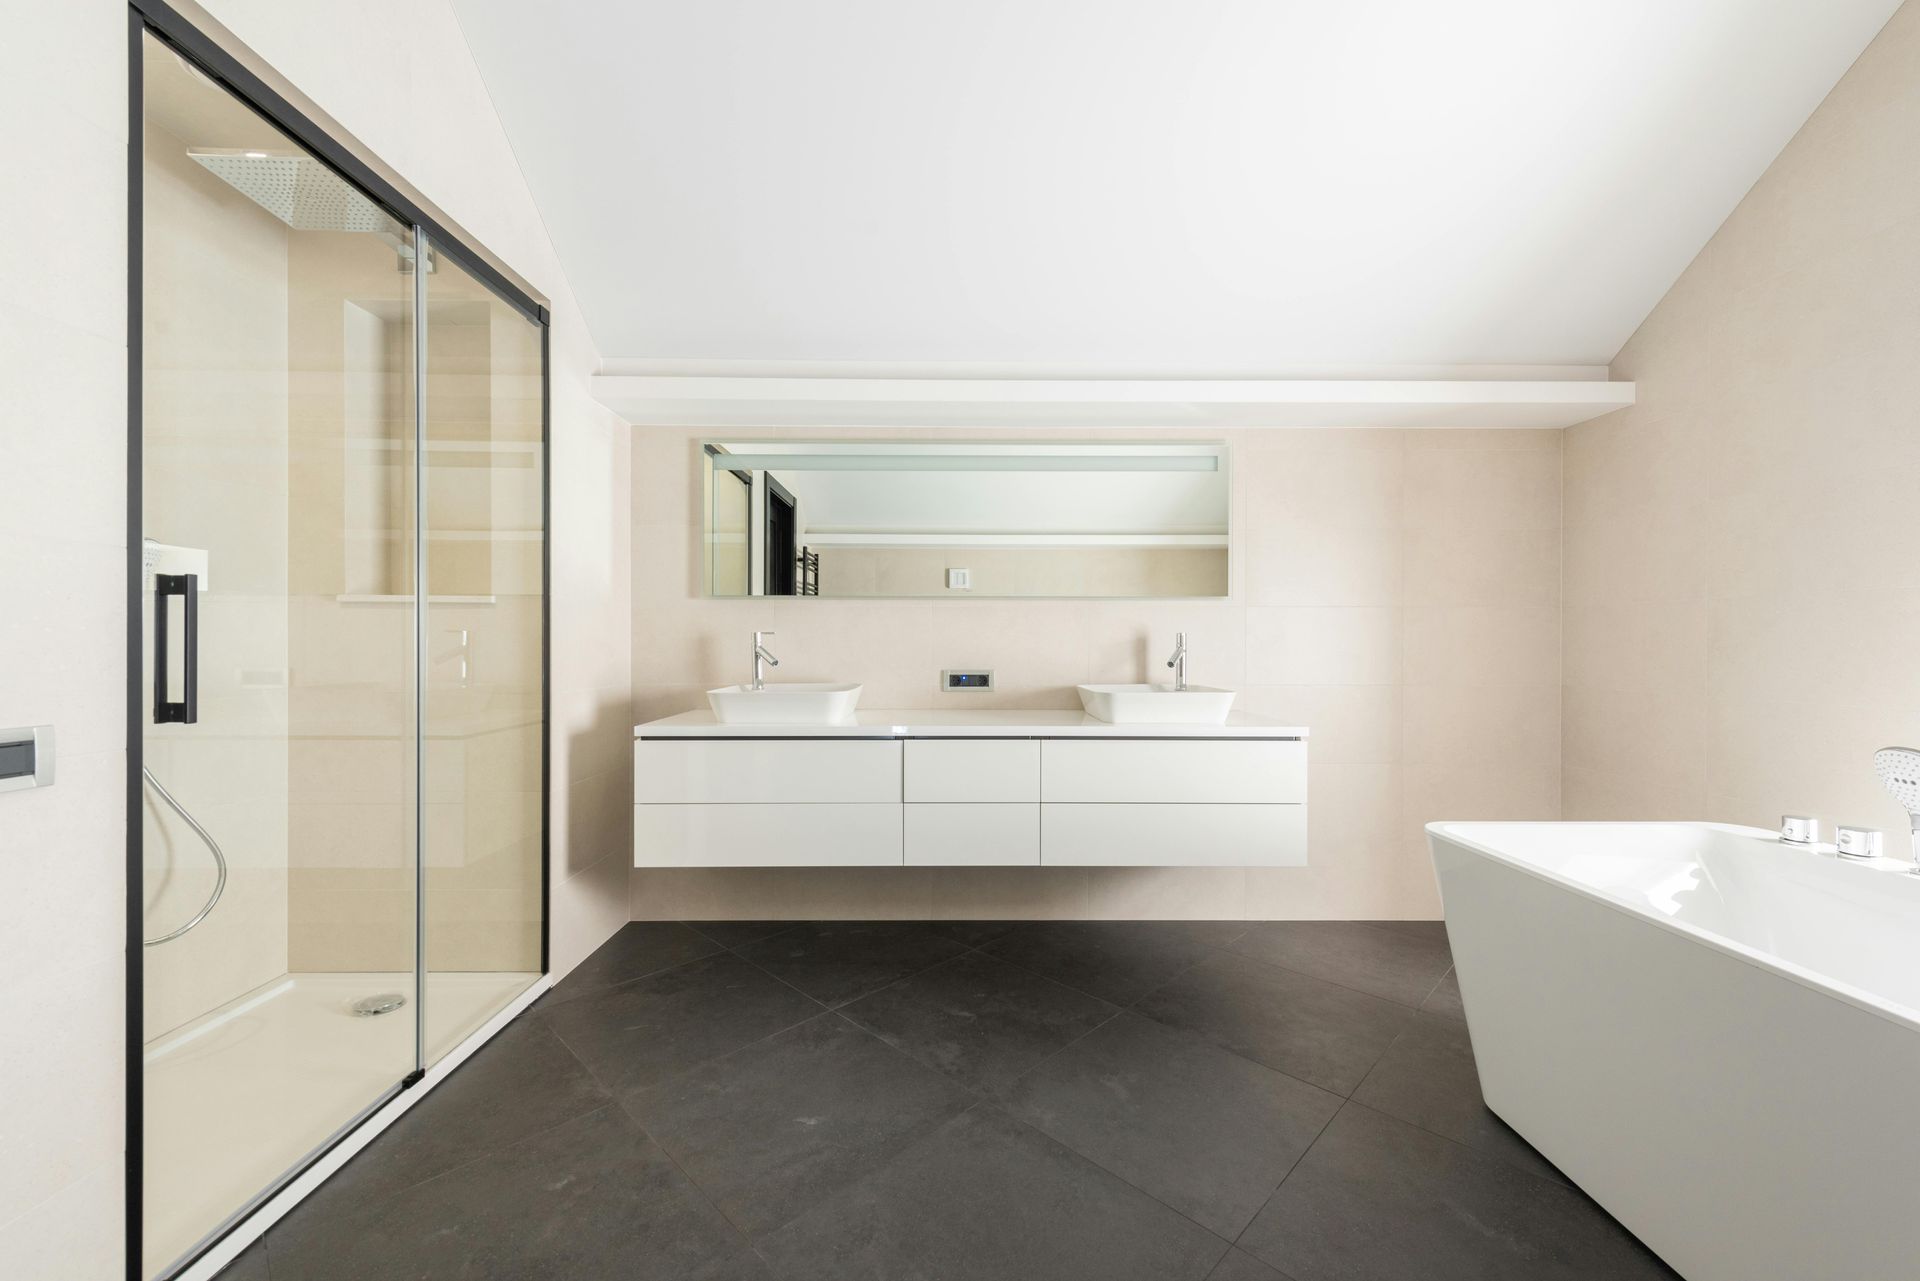
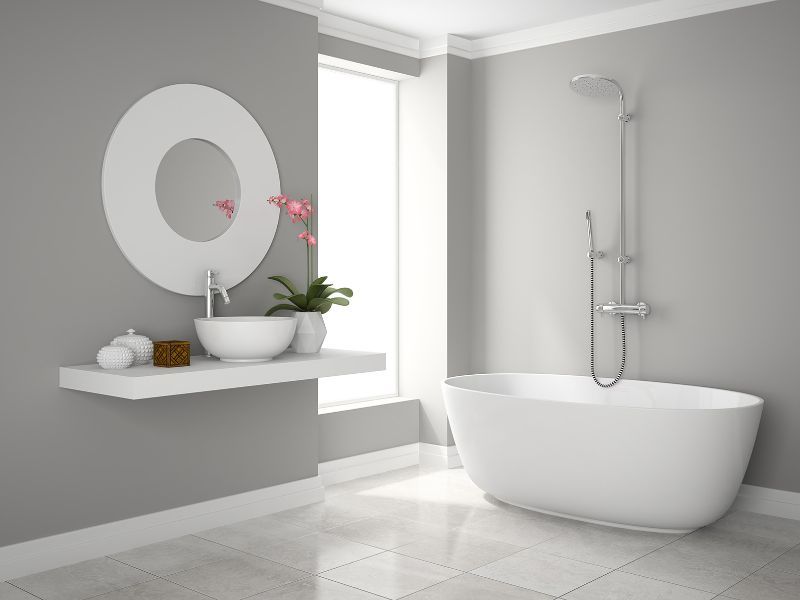
Dry spray is one of the most common — and most preventable — finish defects in professional surface refinishing. It can show up on a bathtub reglazing job, a tile resurfacing project, a cabinet coat, or a countertop restoration, and when it does, it adds time, cost, and frustration to work you've already invested in. Understanding what causes it, how to prevent it, and how to correct it when it appears is essential knowledge for any refinishing contractor who wants to deliver consistent, callback-free results.
This guide is written specifically for professional refinishers running residential and commercial surface restoration businesses. We'll cover the technical causes of dry spray, prevention strategies tied to equipment setup and environmental conditions, and a step-by-step approach to remediation when it happens on the job.
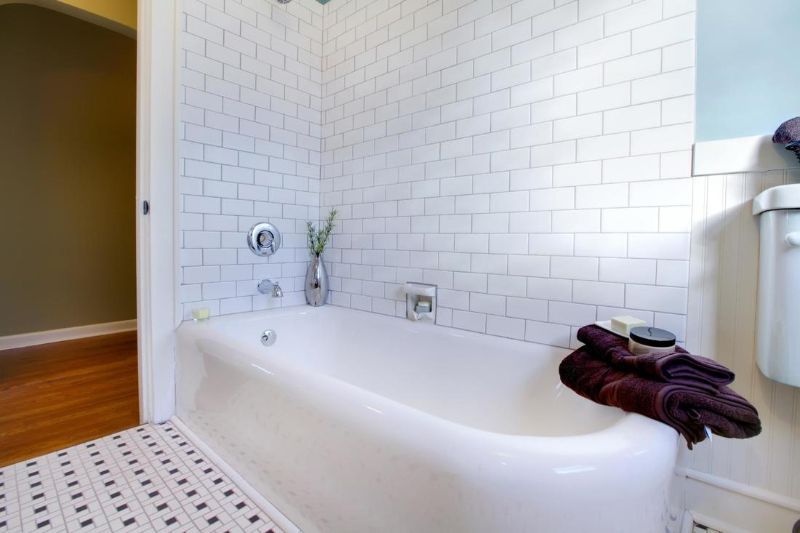
What Is Dry Spray?
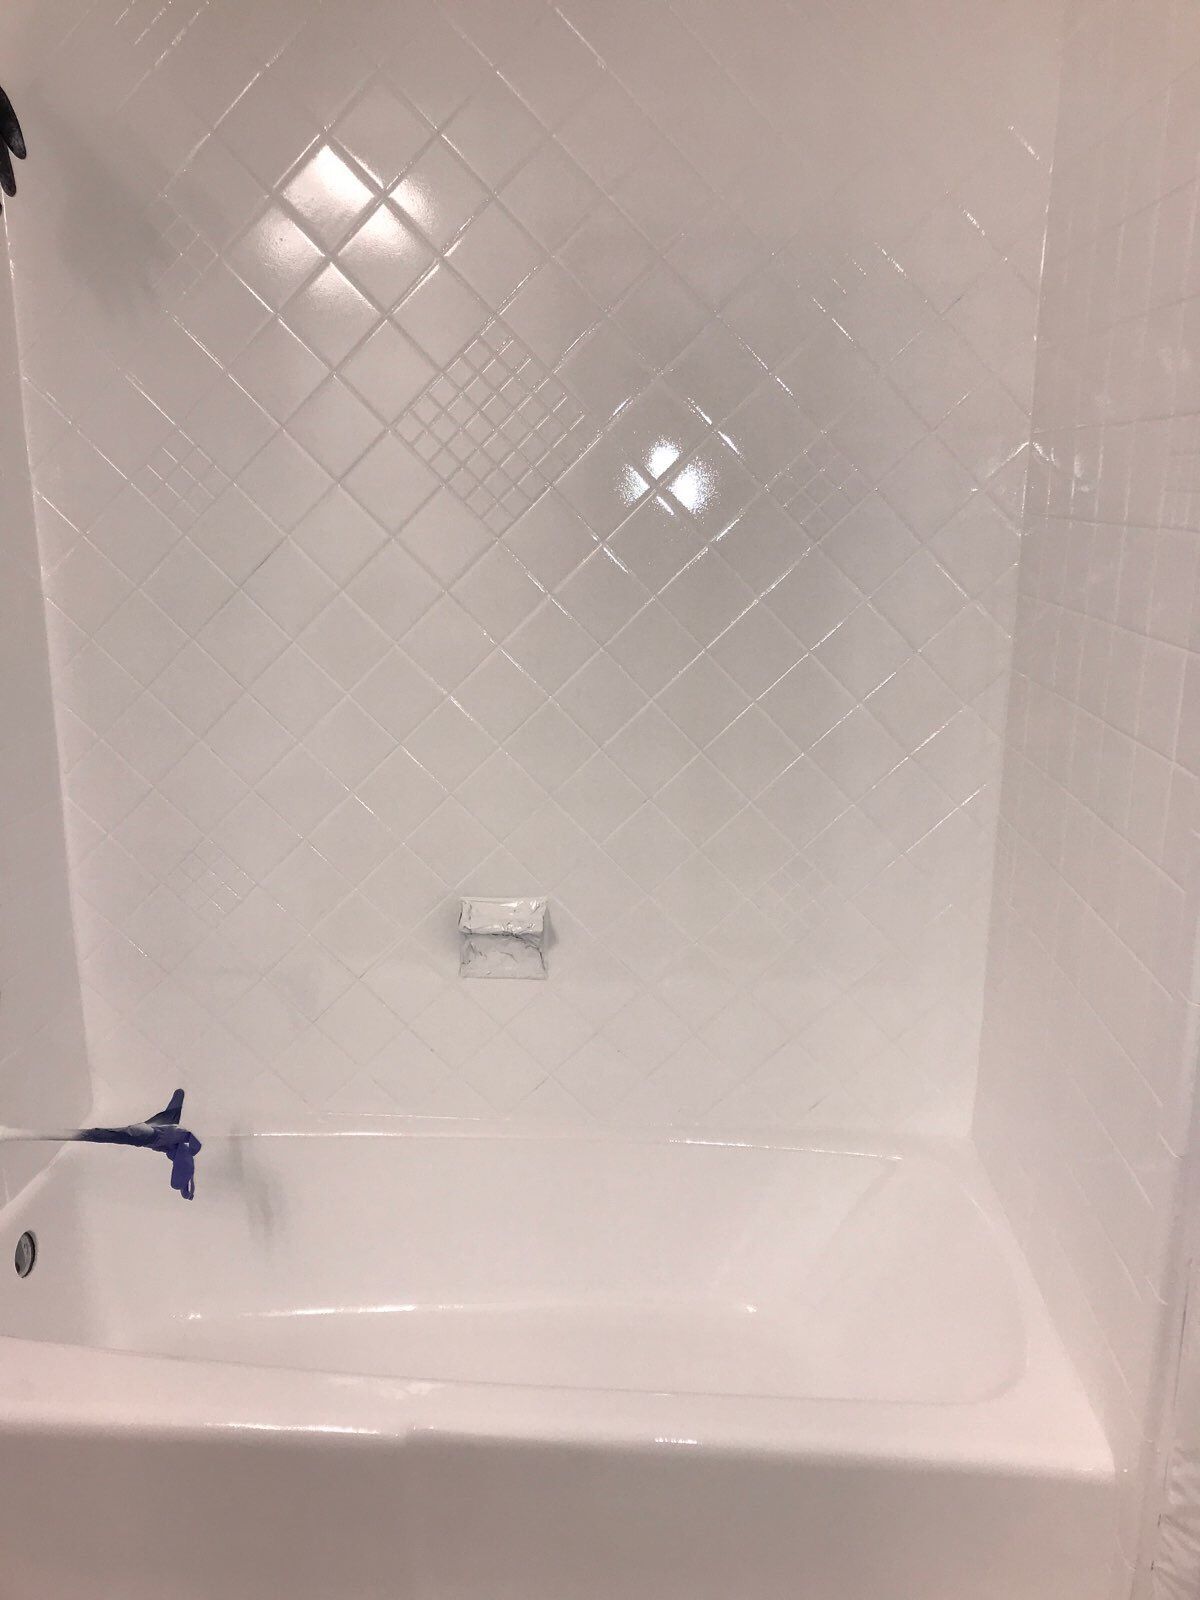
Dry spray occurs when atomized coating droplets partially or fully lose their solvent before reaching the surface being sprayed. Instead of arriving wet and coalescing into a smooth, continuous film, those semi-dried particles land on the substrate as gritty, rough, or sandy deposits that fail to flow out or bond properly.
The result is a finish that looks dull, feels rough to the touch, and lacks the uniform gloss your client is expecting. In direct or raking light, dry spray is immediately visible as a hazy, matte, or textured zone that stands out sharply against properly coated areas.
It's worth distinguishing dry spray from similar-looking defects. Orange peel has a bumpy, dimpled texture but is the result of poor flow-out in a wet film — the coating reached the surface but didn't level. Dry spray is different: the coating was already partially drying mid-air, so what hits the substrate is a collection of hardened or semi-hardened particles with little ability to bond or self-level. Dry spray also differs from overspray, which typically refers to coating mist that drifts and lands outside the intended spray zone — though the two can occur together under similar conditions.
Why Dry Spray Happens: Root Causes for Professional Refinishers
Dry spray always has a cause. When you encounter it, one or more of the following conditions is almost certainly responsible.
Gun Distance That's Too Far From the Surface
The most common cause of dry spray in refinishing applications is holding the spray gun too far from the substrate. The farther the gun is from the surface, the longer droplets spend in the air — and the more solvent they shed through evaporation before they arrive. Once a droplet loses enough solvent, it can no longer flow or coalesce after landing. It simply sticks as a rough particle.
Professional refinishers typically work at 8 to 12 inches from the surface for most refinishing topcoats, depending on the product, tip size, and air pressure. Working at 14, 16, or more inches — especially in warm conditions — significantly increases dry spray risk, even with properly mixed material.
Excessive Atomizing Air Pressure
High air pressure breaks the coating into extremely fine droplets. While finer atomization sounds desirable for a smooth finish, very small droplets have a high surface-area-to-volume ratio, which means they lose solvent faster and are more prone to drying out before they reach the surface. Dial your pressure back to the product's recommended range. More pressure doesn't always mean a better finish — in refinishing applications, it often means the opposite.
Incorrect or Fast-Evaporating Reducer
Using a reducer that evaporates too quickly for the ambient conditions is one of the most frequent causes of dry spray, especially during warm weather or in hot interior spaces. A fast reducer that performs well at 65°F can cause significant problems at 85°F. Always match your reducer selection to the temperature and humidity conditions you're working in. In hotter environments, a slower reducer keeps the coating wetter longer in transit between the gun tip and the substrate.
High Ambient Temperature
Heat accelerates solvent evaporation from atomized droplets. In summer months, in west- or south-facing rooms that absorb afternoon sun, or in spaces with radiant heating, ambient temperatures can rise well into ranges that cause dry spray problems even with correct gun distance and pressure. Always check the application temperature range on your product technical data sheet before starting a job.
Low Relative Humidity
Low humidity accelerates moisture loss from waterborne coatings and solvent evaporation from solvent-based systems alike. Dry interior air — common in winter when heating systems run continuously — can cause coating droplets to lose solvent rapidly in flight. This is an often-overlooked variable, particularly for refinishers who primarily adjust for temperature.
Excessive or Misdirected Airflow
Adequate ventilation is non-negotiable when refinishing enclosed spaces. However, fans positioned poorly — blowing directly across the spray path rather than pulling fumes away from the work area — create a crosswind that accelerates evaporation from airborne droplets and dramatically increases dry spray. Position ventilation to exhaust air out of the space, not across it.
Fan Pattern Set Too Wide
A fan pattern that's too wide spreads the coating thinly across a large area. The outer edges of an oversized fan travel farther than the center, losing more solvent in transit and arriving at the surface with reduced wet film build. Those outer edges are consistently the first place dry spray appears. Narrow your fan, overlap your passes correctly, and cover large areas with multiple properly placed passes.
Spraying Over a Hot or Dry Substrate
If the substrate itself is hot from sun exposure or a work light positioned too close, it will pull solvent out of incoming coating droplets almost immediately upon contact, preventing proper film formation. Allow surfaces to reach a stable, moderate temperature before spraying.
How to Prevent Dry Spray in Professional Refinishing Applications
Prevention is far less costly than remediation. Here's how to eliminate dry spray before it starts
Set Up Your Spray Equipment Correctly Before Every Job
Spray gun setup is not a one-time configuration. Fluid tip size, needle, air cap, and pressure all interact with the specific product you're spraying. Before touching the actual surface, run a test pattern on cardboard or scrap material and evaluate atomization quality, fan shape, and edge consistency. Wet, even edges with no powdery or sandy appearance mean you're dialed in. If the outer fan edges look gritty or the center looks grainy, adjust before you spray.
For most professional refinishing topcoats applied in small-to-medium bathroom environments, an HVLP gun with a 1.4mm tip is the standard starting point. Both
Synergy and
Zenix specify an HVLP gun with a 1.4mm tip as the recommended application method, which is worth factoring into your equipment selection and setup.
Match Your Reducer to the Conditions
Always select a reducer appropriate to the ambient temperature range in which you're working. A fast reducer that's ideal at 65°F becomes a liability at 85°F. In warm environments, switch to a slower reducer to keep the coating wetter in transit and give it more time to flow out after it lands. This single adjustment eliminates a significant percentage of dry spray issues that refinishers encounter in warm-weather jobs.
Maintain Correct and Consistent Gun Distance
Hold the gun at 8 to 12 inches from the surface throughout the job — not just at the start. On complex fixtures with curves, corners, recesses, and hardware, it's natural to unconsciously back the gun away to improve visibility or maneuverability. Every extra inch of distance you add increases dry spray risk. Stay disciplined about your standoff distance, especially on vertical surfaces where it's easiest to drift.
Control the Environment as Much as Possible
Close windows and exterior doors to eliminate breezes across the work area. Position ventilation fans to pull fumes toward and out of an exhaust point rather than blowing across your spray path. If possible, schedule warm-weather jobs for the cooler morning hours before a room heats up. If the space has been in direct sunlight, allow it to cool before spraying.
Use Properly Mixed, Quality Coatings
Properly mixed product at the correct reduction rate is the baseline. Both under-reduced and over-reduced materials cause application problems — under-reduced material is too viscous and dries fast; over-reduced material has too little film build per pass. Always follow the product's technical data sheet for mixing ratios and reduction percentages.
Zen-Tek's Synergy — a polyurethane acrylic topcoat with a 94+ gloss rating — requires a 2:1 ratio of Resin to Catalyst with 7–15% reduction using Zen-Tek Premium Low Odor Reducer. Its self-leveling formula and dust-free time of under 10 minutes make it an excellent choice for professional refinishers who need a coating that flows out cleanly. Zenix, Zen-Tek's iso-free 2K topcoat, mixes at a 2:1 ratio with 10–15% reduction and likewise specifies an HVLP gun with a 1.4mm tip for professional application. Both products are engineered for clean atomization and proper film build when applied correctly within their spec ranges.
For water-based applications — in healthcare facilities, hospitality environments, or wherever low-VOC requirements apply —
WTR-Tek is Zen-Tek's breakthrough two-component water-based polyurethane system. Notably, WTR-Tek requires no reducer, which removes reducer selection from the equation entirely and simplifies setup. Its 30-minute recoat time and low-odor formula make it well-suited for occupied or ventilation-restricted environments.
Prepare the Surface Correctly
A properly prepared surface matters more than most refinishers realize when it comes to preventing dry spray and ensuring topcoat adhesion. An overly porous or rough substrate can pull solvent out of the coating on contact, contributing to dry spots and poor film build.
AdvanEtch, Zen-Tek's micro-etching sanding liquid and deglosser, creates the precise surface profile needed for primer and topcoat adhesion on porcelain, enamel, ceramic tile, cast iron, and glass without over-etching or damaging the substrate. Its zero-VOC gel formula adheres precisely where applied on vertical surfaces — a significant advantage in tub and tile refinishing. Proper etching followed by thorough rinsing ensures a consistent, controlled surface that supports even topcoat application.
Prime With a High-Build System
An adequate primer foundation provides film thickness that supports topcoat adhesion and gives the coating something stable to bond to.
Prime-X, Zen-Tek's one-coat polyamide epoxy primer, delivers high-build coverage — 600 to 700 square feet per gallon at 2 mils dry film thickness — with a recoat-ready time of just 10 minutes and a self-leveling formula that resists runs and sags. A solid, properly cured Prime-X coat provides the consistent, sealed surface that allows your topcoat to behave predictably. For water-based systems,
WTR-Prime — Zen-Tek's water-based epoxy primer — pairs seamlessly with WTR-Tek for a complete low-VOC, no-peel refinishing system.
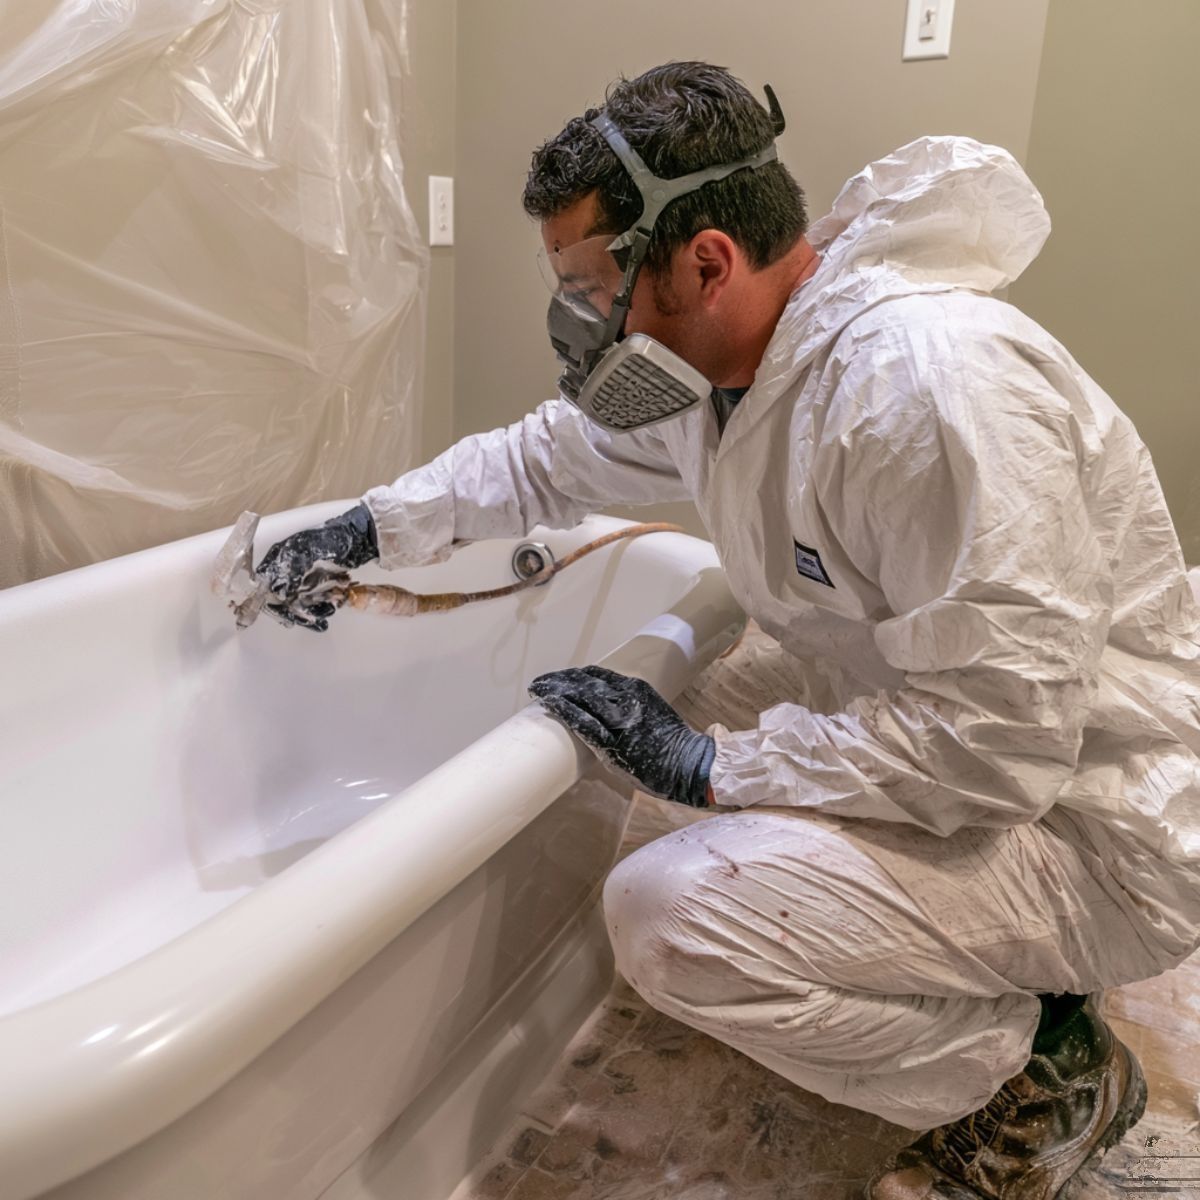
How to Fix Dry Spray: The Professional Remediation Process
Even on well-run jobs, dry spray can appear — a sudden temperature spike, a fan that shifted, a moment of gun distance drift. When it shows up, here's how to address it correctly.
Step 1: Let the Coating Fully Cure Before Touching It
Never attempt to sand or cut dry spray while the topcoat is still in its early cure stage. Sanding a partially cured film causes smearing, tearing, and potential delamination of the coat beneath. Allow the affected area to reach the product's minimum recommended cure time before beginning remediation. For Synergy, that's a water cure of 4 hours; for Zenix, full water cure is 16 hours.
Step 2: Assess the Severity
Before reaching for sandpaper, evaluate what you're dealing with:
- Light dry spray — a slightly rough or sandy texture over a contained area, with solid underlying film build — is often correctable with wet sanding and polishing.
- Heavy dry spray — thick, gritty deposits over large areas, particularly near leading or trailing edges of passes — may require sanding back to a sound surface and recoating.
Making this assessment before you start sanding keeps you from unnecessarily cutting into material that could have been saved with a lighter touch, or from wasting time polishing a surface that needed to be recoated.
Step 3: Wet Sand to Level the Surface
For light to moderate dry spray, wet sand with fine-grit sandpaper — typically 600 to 800 grit to start, progressing to 1000 to 1500 grit — to cut down the rough particles without damaging the coating beneath. Keep your paper wet throughout, use consistent, overlapping strokes with light to moderate pressure, and feather the edges of your sanding area to avoid creating a visible transition line between sanded and unsanded zones.
The goal at this stage is to level the surface, not to cut through to the primer. Work carefully and check your progress frequently.
Step 4: Clean and Evaluate Under Good Lighting
After wet sanding, thoroughly clean the surface with a tack cloth or appropriate cleaner to remove all sanding residue and dust. Allow it to dry completely, then evaluate under both direct and raking light. Raking light — a light source held at a low angle to the surface — will reveal any remaining texture, low spots, or transition lines that need further attention before you proceed.
If the remaining film build looks marginal after sanding, plan to recoat rather than polish. A topcoat applied over a surface that's been sanded thin is more vulnerable to premature failure.
Step 5: Apply a Fresh Topcoat or Polish to Restore Gloss
If film build is adequate after sanding and the surface is smooth and even, follow your wet sanding progression with polishing compound to restore gloss and eliminate any micro-scratches left by the final grit. Work to a smooth, high-gloss finish and evaluate again under raking light before declaring the job complete.
If recoating is required, apply a fresh topcoat coat at the correct gun distance, pressure, and reduction ratio — and with all of the prevention measures above in place. A clean, leveled surface from your wet sanding work will accept the new coat evenly.
A Note on Blending
Build Dry Spray Prevention Into Every Job
The most reliable fix for dry spray is eliminating its causes before you pull the trigger. Standardizing your gun setup process, committing to reducer selection based on actual conditions rather than habit, staying disciplined about gun distance on every surface regardless of complexity, and controlling your work environment as much as possible will eliminate the vast majority of dry spray issues from your jobs.
Using high-quality, professionally formulated coatings that are engineered for clean atomization and proper film build is equally important. Zen-Tek's full system — AdvanEtch for surface prep, Prime-X or WTR-Prime for primer, and Synergy, Zenix, or WTR-Tek for topcoat — is formulated to work together, giving professional refinishers the best possible foundation for consistent, high-gloss, callback-free results on every job.
Frequently Asked Questions About Dry Spray in Surface Refinishing
What causes dry spray when refinishing tubs or cabinets?
Dry spray is caused when atomized coating droplets lose their solvent in the air before reaching the surface. The most common culprits are holding the spray gun too far from the substrate, using too much atomizing air pressure, using a reducer that evaporates too fast for the ambient temperature, working in high heat, low humidity, or excessive airflow conditions, and spraying with a fan pattern that's too wide. Any combination of these factors accelerates solvent loss from airborne droplets, causing them to arrive at the surface as semi-dried, granular particles rather than a wet, flowing film.
Why does my finish feel rough or sandy after spraying?
A rough or sandy finish after spraying is the textbook presentation of dry spray. The coating droplets partially dried in flight and landed on the surface as hardened particles instead of coalescing into a smooth wet film. The result is a gritty texture similar to fine sandpaper. The most immediate things to check are gun distance, air pressure, and reducer selection relative to the temperature you're working in. Even small adjustments — moving the gun a few inches closer, dropping pressure by 10psi to 8psi, or switching to a slower reducer — can resolve the issue entirely.
Is my air pressure too high if I'm getting dry spray?
Am I holding the spray gun too far from the surface?
Quite possibly. Gun distance is one of the most frequent causes of dry spray in professional refinishing, and it's also one of the easiest to overlook because refinishers often drift back without realizing it — especially on complex surfaces around hardware, in corners, or at the edges of a fixture. The standard working distance for most refinishing topcoats is 8 to 12 inches. Beyond that range, solvent evaporates from droplets before they reach the surface. Get in the habit of physically checking your standoff distance during application, not just at the start.
How can I tell the difference between dry spray and overspray?
The terms are often used interchangeably but describe slightly different phenomena. Dry spray refers to the rough, sandy, or gritty texture in the sprayed area itself — the area you intentionally coated — caused by droplets that partially dried in flight. Overspray typically refers to fine mist that drifts and deposits outside the intended spray zone, often on adjacent surfaces, hardware, or fixtures. Both result from similar underlying conditions — excessive distance, high pressure, or fast-evaporating reducer — but dry spray affects your finish quality directly, while overspray is more of a cleanliness and masking issue. Both can occur simultaneously on the same job.
Do I need a slower reducer or retarder to stop dry spray?
A slower reducer is often the most effective single adjustment you can make to eliminate dry spray in warm or dry conditions. If you're working above 75°F, using a fast-evaporating reducer is likely contributing to your problem. A slower reducer extends the open time of the coating droplets in flight, giving them more time to arrive at the surface in a wet state where they can coalesce and flow out properly. For Zen-Tek's solvent-based systems like Synergy and Zenix, always consult the technical data sheet for reducer selection guidance relative to ambient temperature. For water-based applications, WTR-Tek requires no reducer at all, which simplifies the equation considerably.
How does temperature and humidity affect dry spray?
Both variables have a direct effect on how quickly solvent evaporates from atomized coating droplets. Higher temperatures accelerate evaporation — at elevated ambient temperatures, droplets can lose their solvent almost entirely before traveling a foot from the gun tip. Low humidity has a similar effect, particularly on waterborne coatings where water is the primary carrier. Working in a hot, dry room without adjusting your reducer, gun distance, or air pressure is a reliable formula for dry spray. Whenever conditions are warmer or drier than typical, use a slower reducer, reduce gun distance, and consider lowering atomizing pressure slightly to compensate.
Why am I getting dry spray on vertical surfaces but not on flat ones?
Vertical surfaces amplify dry spray risk for a few reasons. When spraying vertical walls and surrounds, refinishers often unconsciously increase gun distance to avoid runs and sags — and that extra distance is enough to cause dry spray even when flat surfaces were fine. Vertical surfaces also tend to be closer to ventilation fans, which can create more airflow across the spray path in those areas. Additionally, gravity means any dry spray particles on vertical surfaces are immediately visible in raking light rather than being somewhat obscured by viewing angle as they might be on a horizontal surface. If you're seeing dry spray only on vertical surfaces, the first adjustment to make is reducing your gun distance on those areas.
Can poor ventilation or air movement cause dry spray?
Yes — but the problem is usually too much directed airflow rather than too little overall ventilation. Ventilation fans that blow air across the spray path rather than exhausting it out of the space create a crosswind through your spray zone that rapidly strips solvent from airborne droplets. The correct approach is to position fans to pull fumes toward an exhaust point, not to blow across the work area. You need adequate air movement for safety, but that movement should be directional and controlled so it doesn't interfere with coating delivery.
Should I spray wetter coats to avoid dry spray buildup?
Spraying wetter coats — meaning more material per pass — is not the right solution to dry spray and can create new problems, particularly runs and sags on vertical surfaces. The correct approach is to fix the underlying conditions causing dry spray: gun distance, air pressure, reducer selection, and environment. Once those variables are corrected, your coating will arrive at the surface wet and flow out properly at normal film build thicknesses. Attempting to compensate for dry spray by over-applying material typically results in one set of problems trading for another.
What's the best distance and speed for spraying to avoid dry spray?
For most professional refinishing topcoats applied in bathroom environments, a gun distance of 8 to 12 inches and a consistent, steady pass speed of approximately 12 to 18 inches per second is the standard starting range. Slower passes at greater distances increase dry spray risk; faster passes at closer distances risk runs and uneven coverage. Consistency matters as much as the specific numbers — an even, rhythmic pass speed keeps film build uniform and avoids the thin spots at the start and end of each stroke where dry spray most commonly appears. Always run a test pass on scrap material to confirm your setup before spraying the actual surface.
Can dry spray be sanded and top coated, or do I need to strip and start over?
In most cases, light to moderate dry spray can be corrected without stripping. Once the coating has fully cured — allowing adequate cure time per the product's technical data sheet before touching it — wet sand the affected area with 600 to 800 grit progressing to 1000 to 1500 grit to level the rough particles, feather the edges, then clean the surface thoroughly and evaluate. If film build is adequate after sanding, polish to restore gloss. If film build is marginal, apply a fresh topcoat. Stripping back to the substrate is generally only necessary when dry spray is severe across large areas, when it's layered over multiple coats, or when the underlying adhesion is also compromised.
What grit should I use to smooth out dry spray without damaging the base coat?
Start with 600 to 800 grit wet sandpaper to cut down the rough particles efficiently without cutting too aggressively into the topcoat beneath. Once the texture is leveled, move to 1000 to 1500 grit to refine the surface before polishing. Use wet sanding technique throughout — keeping the paper wet reduces friction, prevents loading, and gives you better tactile feedback as you work. Avoid dry sanding, which generates heat and can soften or smear a partially cured topcoat. Check your progress frequently by feel and under raking light rather than sanding by time alone.
Do certain coatings or systems — like 2K urethanes or epoxies — dry spray more than others?
Yes. Solvent-based 2K urethanes and epoxies generally carry more dry spray risk than water-based systems because their solvents evaporate more rapidly, particularly in warm conditions. Among 2K solvent systems, fast-hardener formulations are more prone to dry spray than standard or slow-hardener versions. Water-based coatings like WTR-Tek tend to be more forgiving of minor variations in gun distance and environmental conditions because water evaporates more slowly than most organic solvents, giving droplets more time to arrive at the surface in a workable wet state. That said, any coating system can produce dry spray if application conditions are significantly out of spec.
Will dry spray affect long-term durability or just the appearance?
Dry spray affects both appearance and durability. Cosmetically, it produces the dull, rough, or sandy texture that clients will notice immediately. But from a performance standpoint, dry spray particles that haven't properly bonded to the substrate or to each other represent a weakened film. The coating in those areas has reduced adhesion strength, lower chemical resistance, and a higher likelihood of flaking, peeling, or failing prematurely under the moisture and cleaning chemical exposure typical of bathroom environments. This is why dry spray should always be properly remediated — not masked with an additional coat over the top of unbonded particles, which will create further adhesion problems down the line.
How can I blend dry spray areas without creating a visible texture difference?
Successful blending requires gradual transitions rather than sharp boundaries. When wet sanding a dry spray area, extend your sanding zone significantly beyond the affected patch — at least several inches in all directions — and feather your edges with progressively lighter pressure as you move outward. Progress through grits without skipping steps. When polishing, work in the same expanding pattern. If recoating is necessary, extend your spray passes well beyond the sanded area so the fresh material lays down evenly across both old and newly sanded surfaces. Evaluate every stage under raking light before proceeding, since texture differences that are invisible under flat light become obvious under low-angle illumination.
Should I adjust my fan pattern or fluid tip to eliminate dry spray?
Fan pattern and tip selection are both worth examining if dry spray is recurring. A fan set too wide spreads material too thinly and forces the outer edges of the pattern to travel farther distances where dry spray is most likely. Narrowing your fan and making additional, correctly overlapping passes is generally more effective than trying to cover large areas in a single, oversized stroke. As for tip selection, an oversized fluid tip increases the volume of material delivered per pass — which can help ensure adequate wet film build — but the more fundamental adjustments are typically distance, pressure, and reducer selection. If you're consistently on an HVLP gun with a 1.4mm tip as specified for products like Synergy and Zenix, and still experiencing dry spray, look first to your application conditions before changing your tip.
Is dry spray more common with water-based or solvent-based coatings?
Solvent-based coatings are generally more prone to dry spray because organic solvents evaporate significantly faster than water, particularly at elevated temperatures. A solvent-based topcoat applied in an 85°F bathroom with a fan blowing across the spray path is in a high-risk environment. Water-based coatings, by contrast, use water as their primary carrier, which evaporates more slowly and gives droplets more working time in flight. WTR-Tek — Zen-Tek's water-based polyurethane system — benefits from this characteristic and requires no reducer, making it a simplified application system for environments where dry spray risk is elevated or where low-VOC requirements drive coating selection.
What's the best spray setup — gun, tip, pressure — to avoid dry spray in small bathrooms?
Small bathrooms present unique challenges because tight spaces mean the gun naturally travels closer to surfaces, ventilation options are limited, and there's less room to correct bad application angles. The recommended setup for most Zen-Tek refinishing topcoats is an HVLP spray gun with a 1.4mm fluid tip, operating within the gun manufacturer's recommended pressure range for that tip. In small bathrooms, work at consistent 8 to 12 inch gun distances, keep your fan pattern moderate to avoid bouncing mist off opposing walls and back onto your work surface, and position a single exhaust fan to draw fumes toward a door or window without creating a crosswind. If you're doing a lot of small bathroom work, a well-dialed HVLP setup with precise pressure control will pay dividends in finish quality and reduced remediation time.
How can I explain dry spray to a customer if they notice the texture?
If a client notices rough texture in a finish you've applied, clarity and professionalism will serve you better than technical jargon. A straightforward explanation: "During application, some of the coating material partially dried before fully bonding to the surface — this is called dry spray, and it occasionally happens due to temperature or airflow conditions in the space. It's a surface-level issue and entirely correctable. We'll sand the affected area, verify film build, and restore the finish to the high-gloss result you're expecting." Most clients respond well to an honest explanation paired with a clear corrective action. What erodes trust is being dismissive or unclear. Having a documented remediation process — including what you'll do, how long it takes, and what the final result will look like — lets you manage the conversation with confidence and reinforce your expertise rather than undermine it.